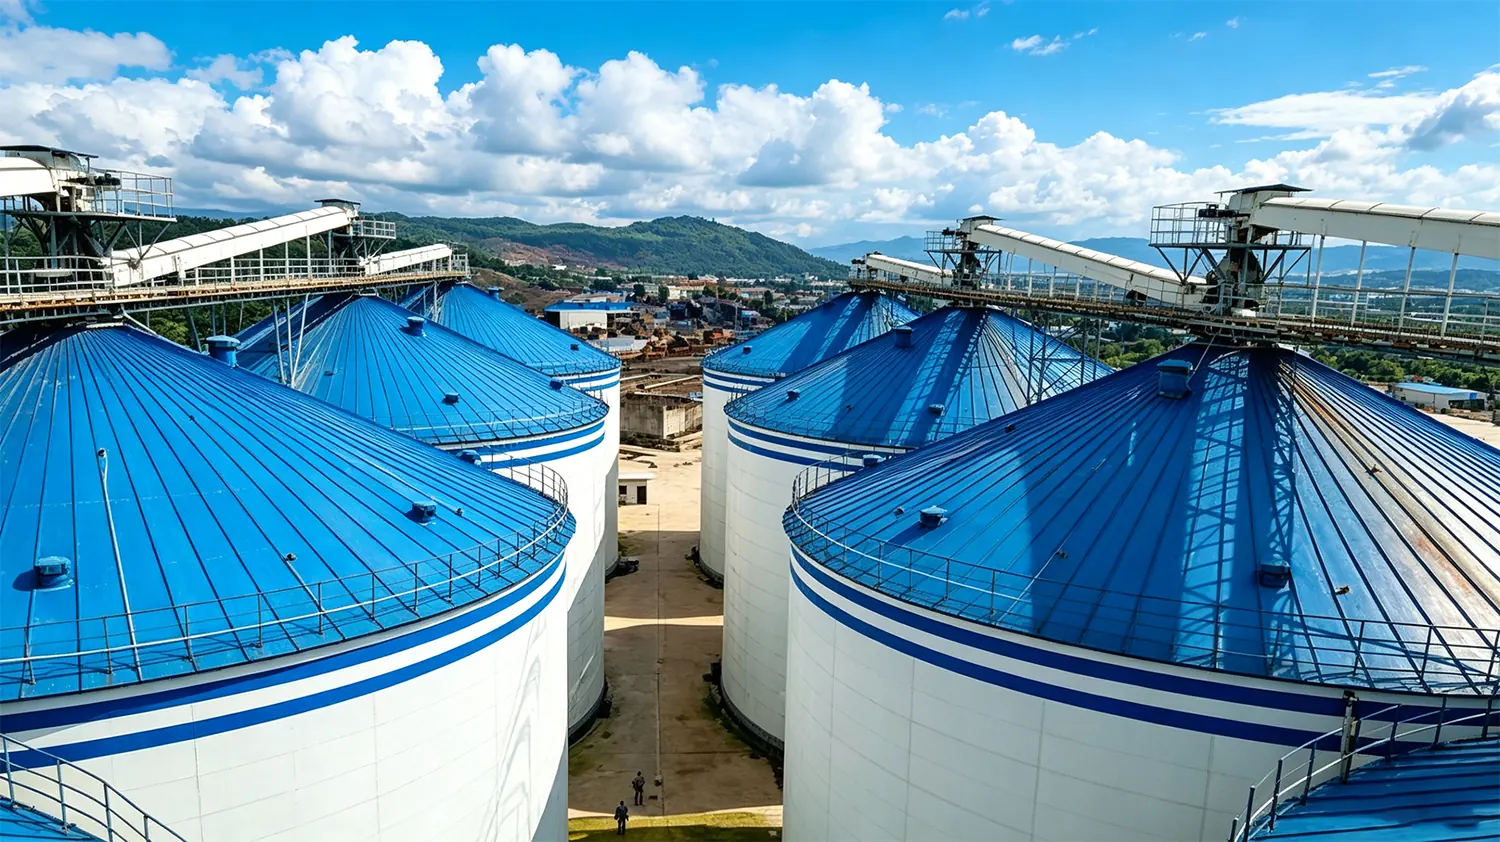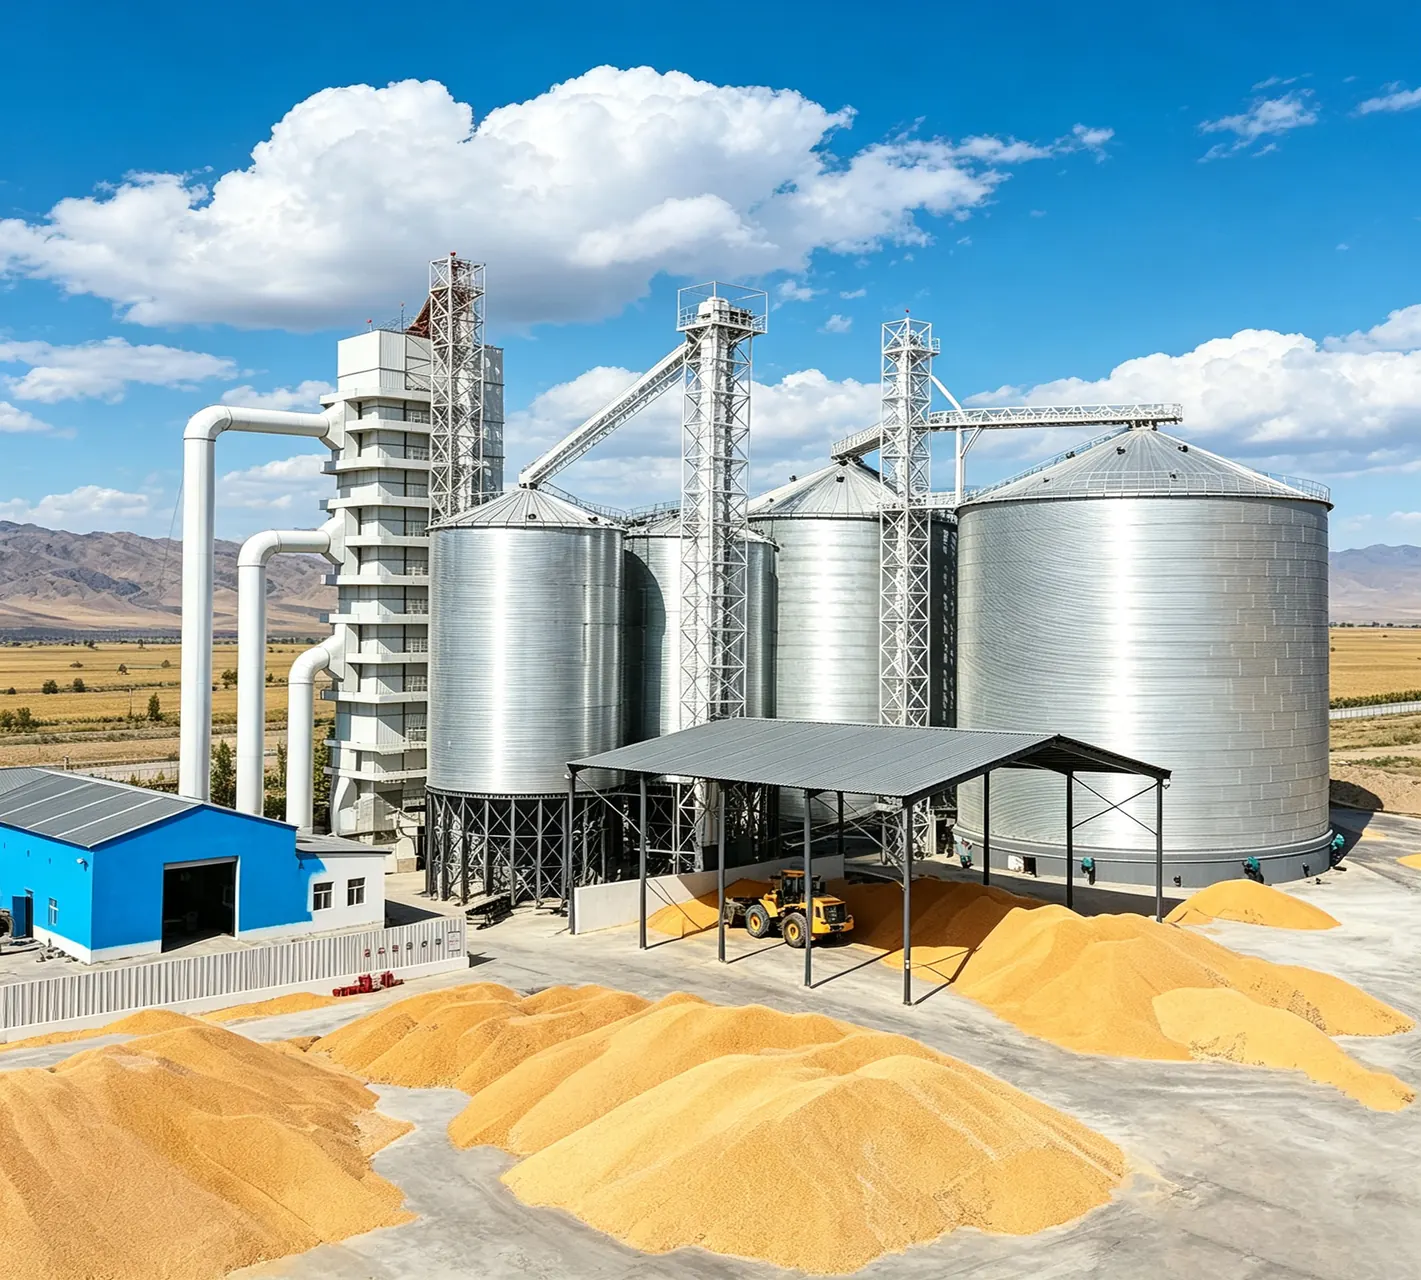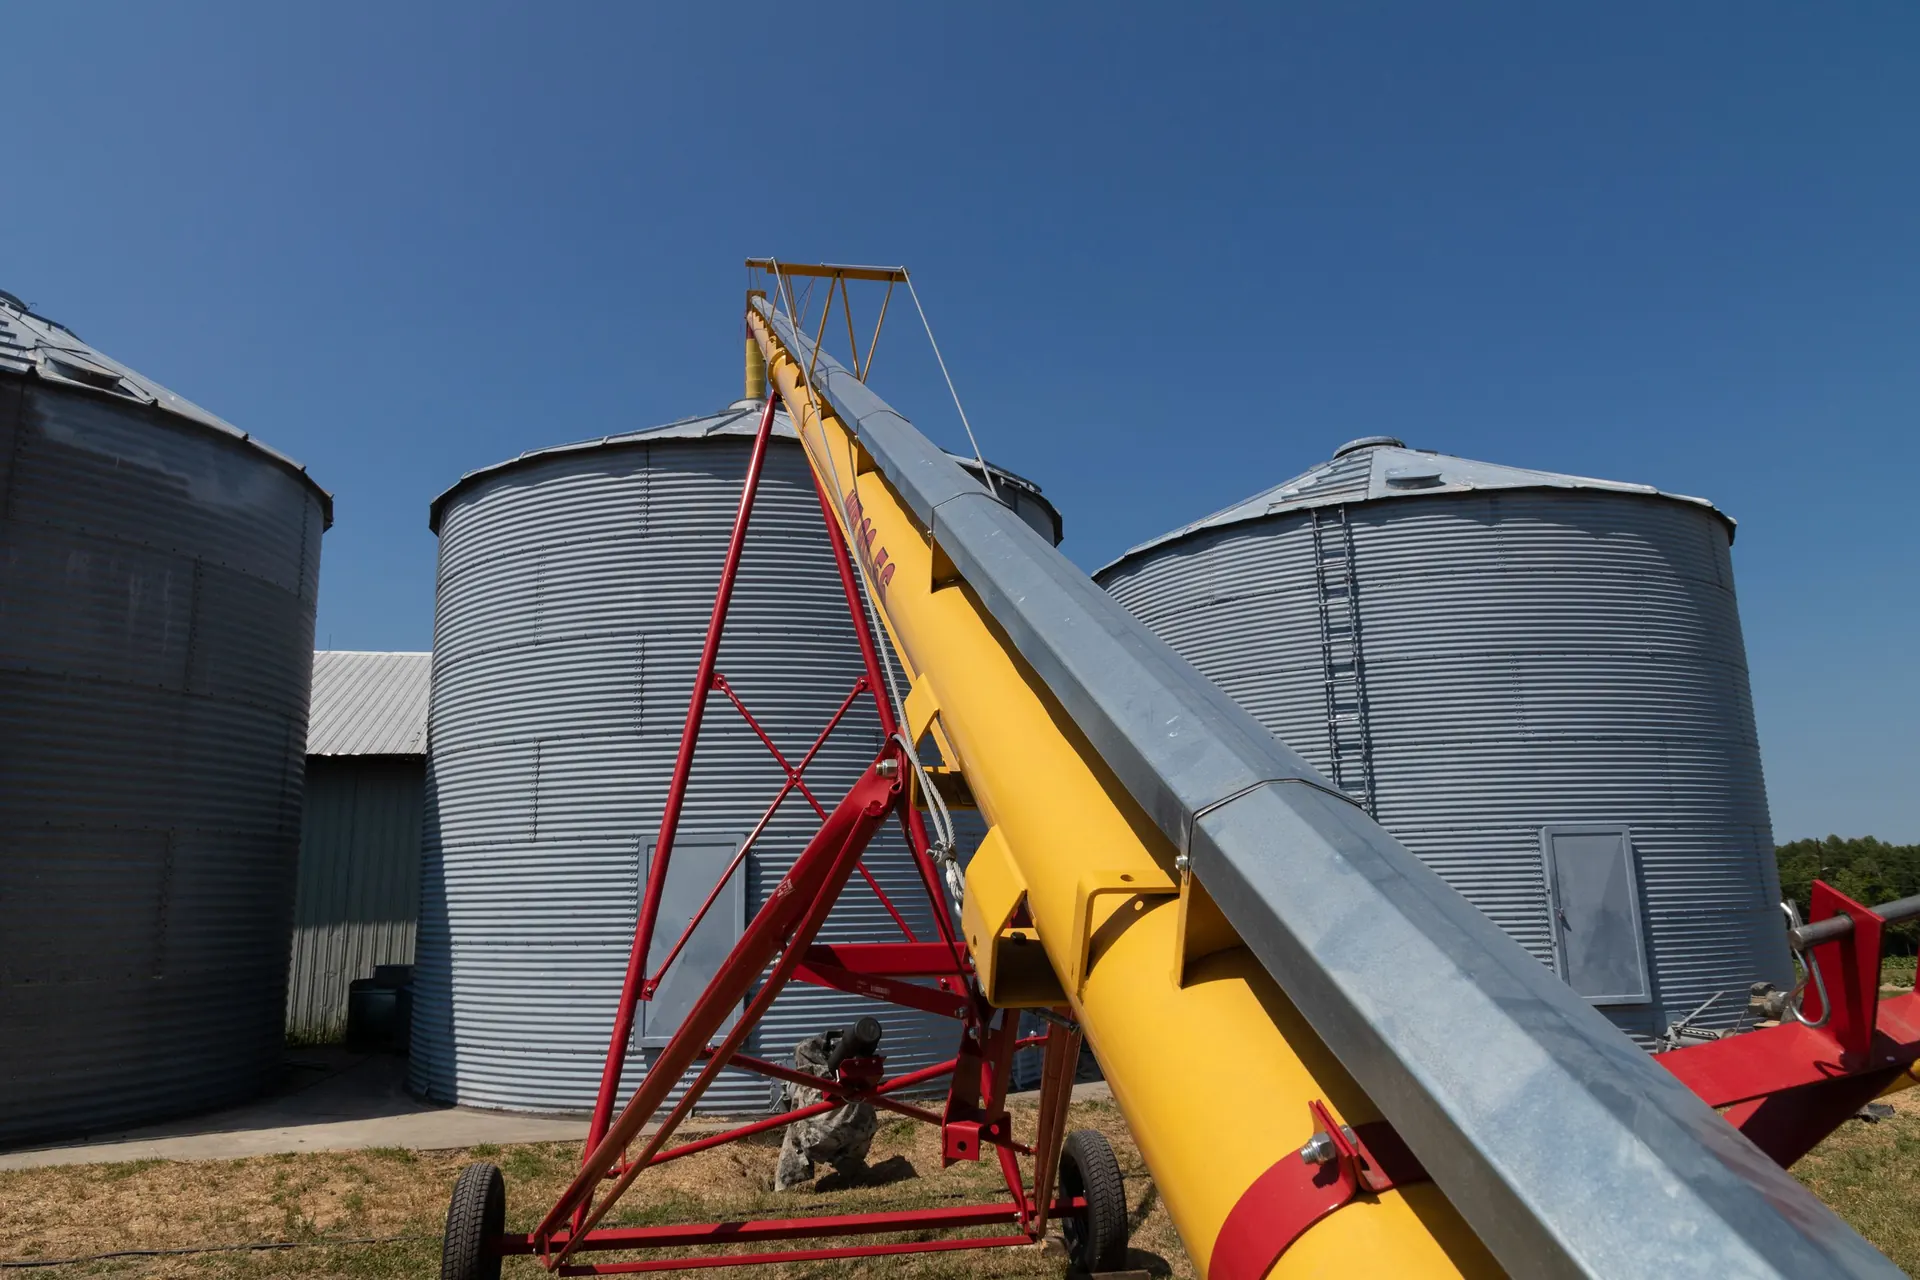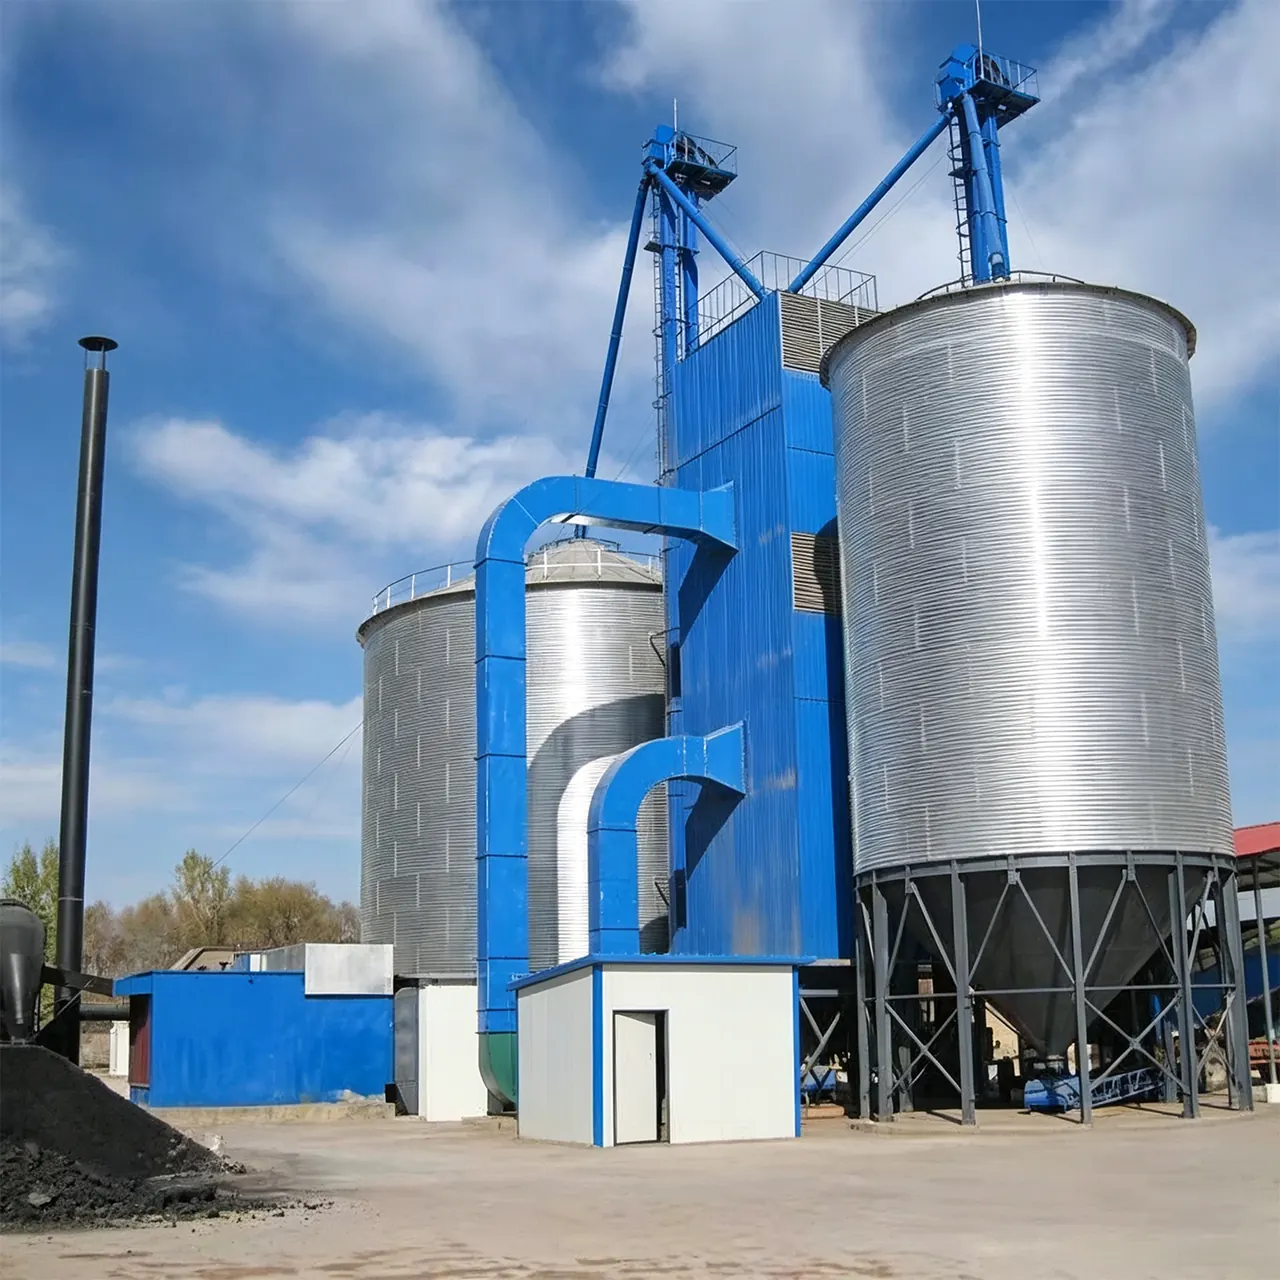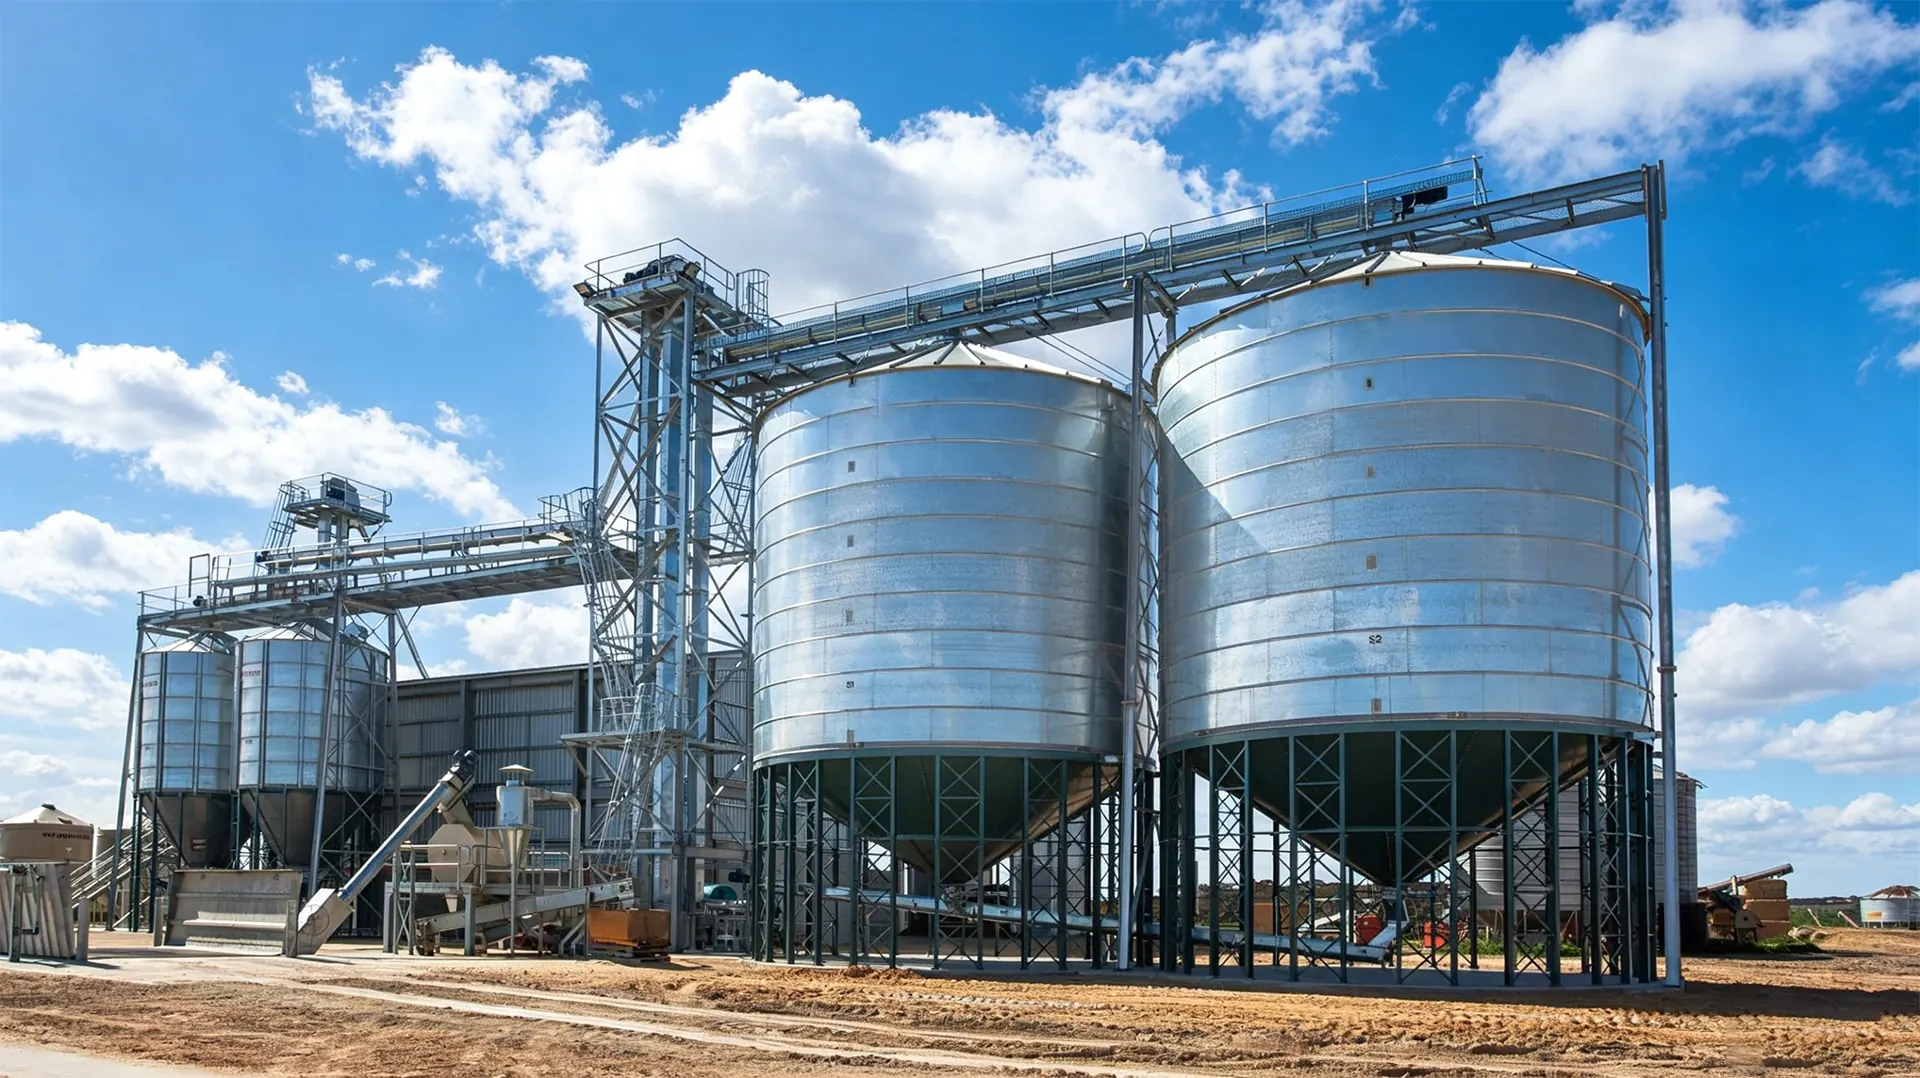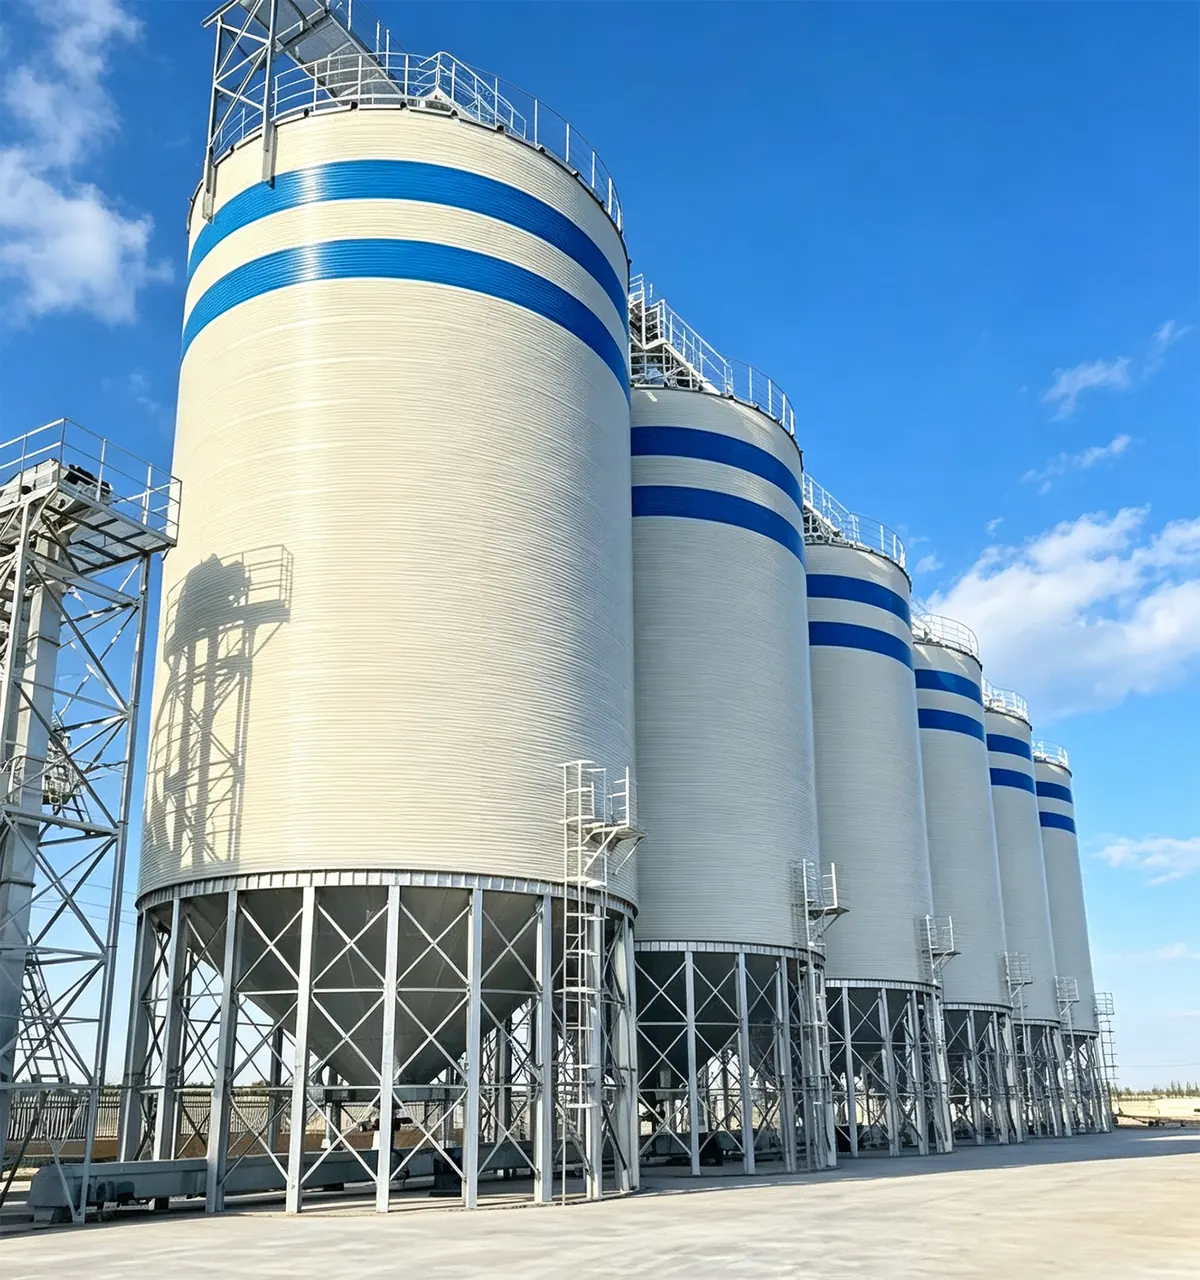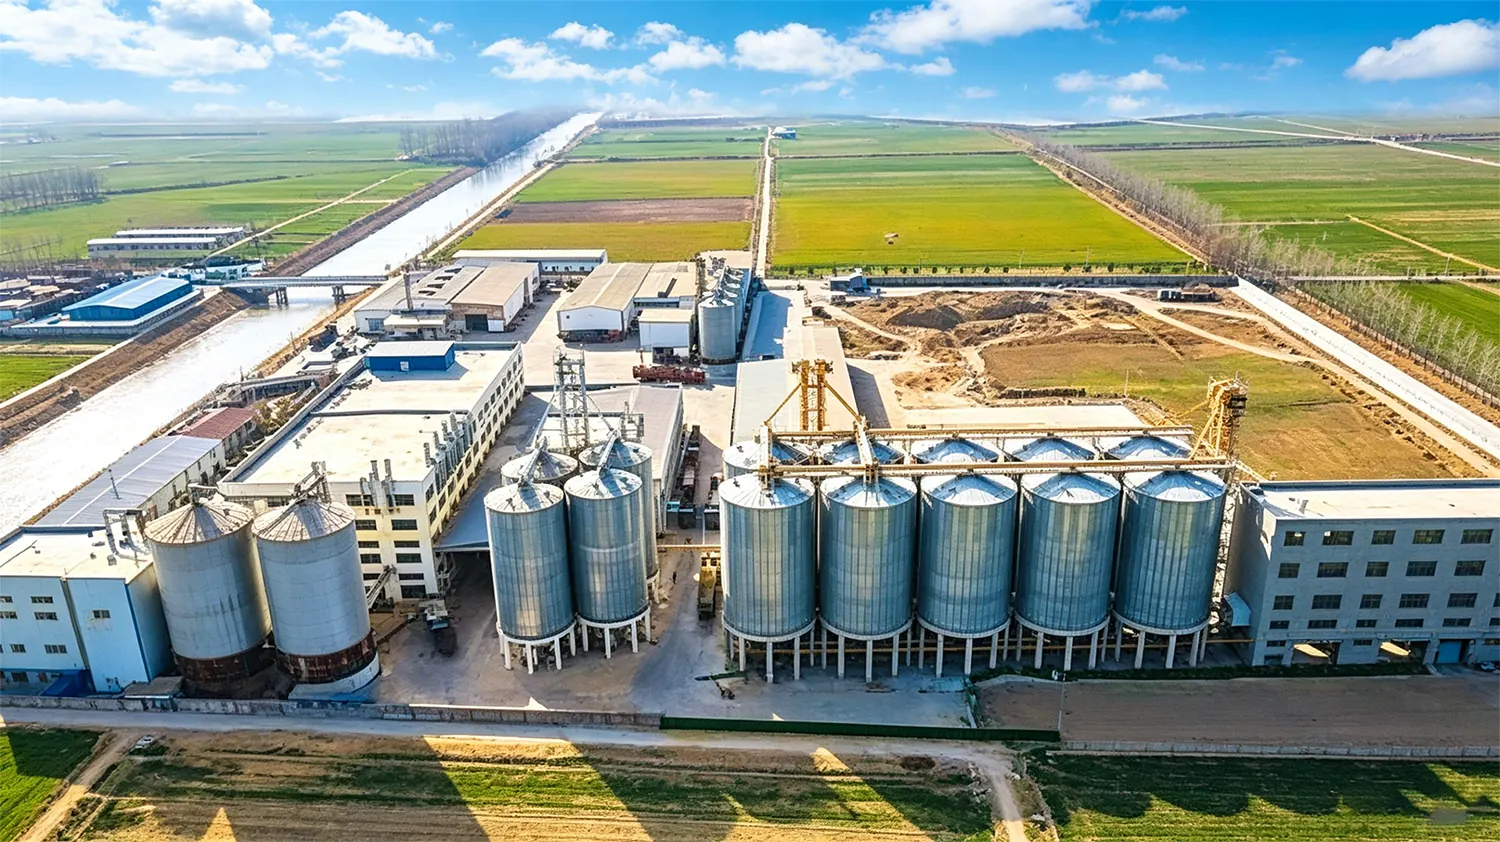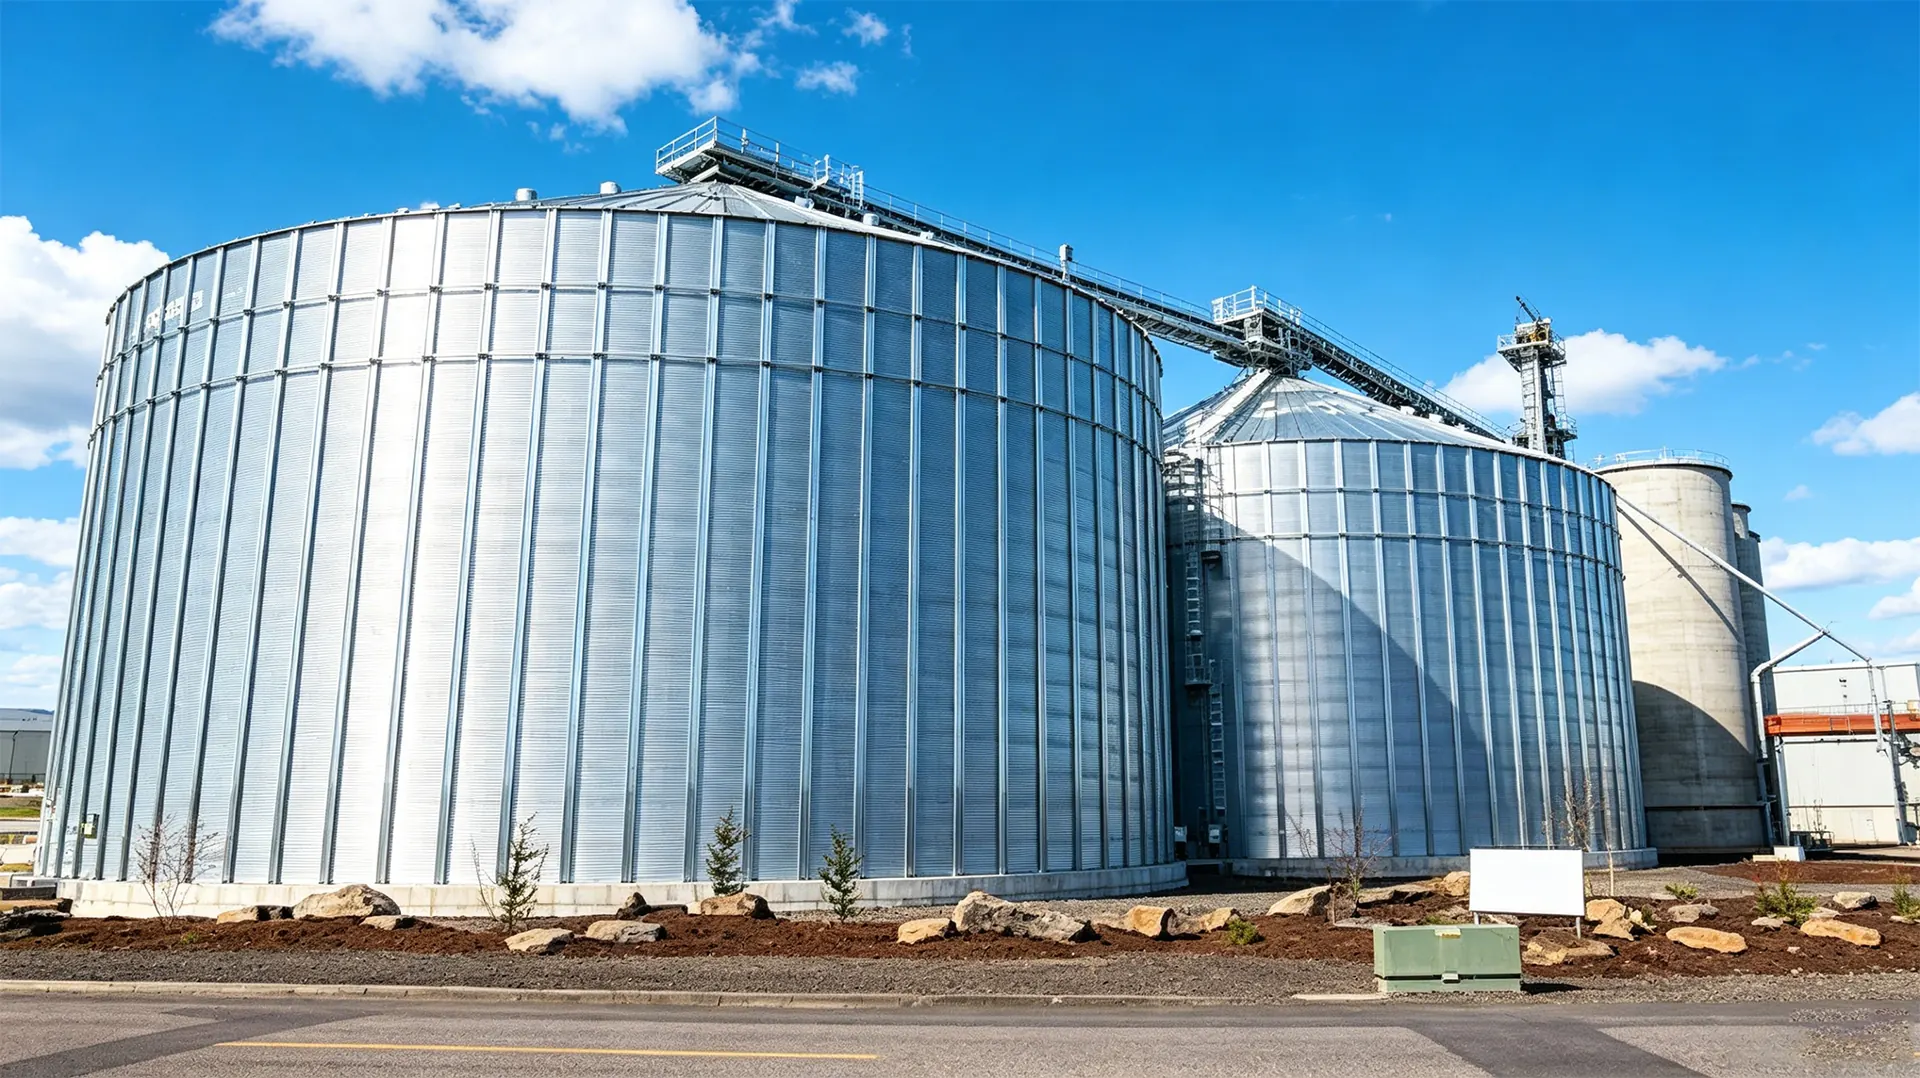
Aeration is the least expensive tool you own for protecting stored Dust Explosion Prevention in Grain Storage Facilities: En... quality — but only when the system actually moves the airflow it was designed to deliver. Most spoilage events we investigate at commercial and on-farm sites trace back to a fan that lost 30% of its output, a corroded floor, or a temperature cable that had been lying to the operator for two seasons. This Purchase High-Quality Steel Silo: An Engineer's Guide walks through the full maintenance program: what to inspect, how to Measure Your Cement Mill and Cement Classifier performance, when to act, and how to document it.
Why Aeration System Maintenance Is the Cheapest Insurance Your Stored Grain Will Ever Get
Grain is a living, respiring commodity. Every kernel in the bin consumes oxygen, releases carbon dioxide, heat, and moisture, and does so faster as temperature and moisture content rise. At 70°F and 16% moisture, a corn mass can lose measurable dry matter within weeks; at 40°F and 14%, the same grain can hold for months. Aeration does not dry grain in the way a heated dryer does — it manages temperature, and temperature is the throttle on biological activity.
The economics are blunt. Aeration reduces grain temperature by moving ambient air through the mass at low airflow rates, typically 0.1 to 0.5 CFM per bushel for storage aeration. Lose a third of that airflow to a leaking plenum seal or a fouled impeller, and cooling cycles that should take 80 hours stretch past 150. Fans run longer, energy costs climb, and the grain spends more days in the temperature band where molds and insects thrive. Maintenance is what keeps the design airflow and the design cooling curve intact.
There is also a safety dimension. Aeration systems interact with fumigation, bin entry, and electrical equipment in a hazardous-location environment. A fan that starts unexpectedly during a phosphine application or a bin entry is not an inconvenience — it is a fatality waiting to happen. Maintenance discipline and lockout/tagout discipline are the same habit.
How Grain Aeration Systems Work — and Which Components Fail First
An aeration system is a pressure machine with a predictable air path. The fan generates static pressure; the transition and plenum distribute that pressure; the perforated floor or in-bin ducting releases air into the grain mass; the air travels upward through the interstice spaces; and the roof vents or eave openings exhaust it. Every element in that chain must be intact, because airflow follows the path of least resistance — not the path you designed.
Primary Components
A typical system includes an axial or centrifugal fan mounted on the sidewall or roof, a motor and drive package, a transition duct, a plenum chamber beneath a perforated floor or above a full-floor aeration duct set, roof vents or ridge vents, and a control package with temperature cables, moisture sensors, and often a psychrometric controller that decides when ambient conditions are suitable to run.
What Fails First: A Realistic Failure Ranking
Based on field service data from thousands of installations, failures cluster in a predictable order:
- Fan bearings and drive belts — the highest-frequency failure, usually preceded by weeks of audible or vibrational warning.
- Seized or blocked roof vents — birds, wasps, and corrosion reduce exhaust area, which raises system static pressure and cuts delivered CFM.
- Rodent and insect damage to temperature cables — chewed insulation produces erratic or failed readings, and operators then manage the bin on bad data.
- Corroded or debris-blinded perforated floors — reduced open area, especially under the fill point where fines accumulate.
- Deteriorated plenum and transition seals — invisible leaks that quietly steal 10 to 30% of airflow.
- Controller and sensor drift — humidity sensors and thermocouples that read 3 to 5% or 3 to 5°F off, causing wrong aeration decisions.
- Motor insulation degradation and contactor pitting — a slow failure that shows up as rising amp draw or nuisance trips.

Pre-Season Aeration Inspection Checklist: What to Verify Before the Bin Is Filled
Perform this inspection four to six weeks before harvest. Once grain covers the floor, your access to ducts, plenum seals, and floor perforations effectively disappears for the season.
Mechanical and Electrical
- Rotate the fan by hand — no binding, no grinding, no axial play beyond manufacturer tolerance.
- Inspect belt condition for glazing, cracking, and fraying; verify tension and sheave alignment.
- Check bearing grease condition and re-lubricate per schedule, avoiding over-greasing which blows seals.
- Verify motor mounting bolts, fan guard fasteners, and transition duct connections are tight.
- Measure amp draw against nameplate full-load amps on each phase; imbalance above 5% warrants investigation.
- Inspect starter contacts, thermal overload settings, and disconnect enclosure gaskets for moisture ingress.
- Confirm the motor enclosure rating is appropriate for the location — dust-ignition-proof or TEFC as required by the area classification.
Air Path and Controls
- Confirm roof vents open and close freely, with full travel and no obstruction.
- Sweep and vacuum the plenum; remove fines, rodent nests, and leftover fumigation residue.
- Inspect perforated floor panels for warping, corrosion, or gaps; verify open area is unobstructed.
- Verify all temperature cables are continuous by reading every sensor against ambient before filling.
- Test the controller in manual and automatic modes, and confirm humidity and temperature inputs respond to a known reference.
- Function-test the fan start/stop sequence and confirm interlock with the aeration controller.
Fan, Motor, and Drive Maintenance: Bearings, Belts, Amp Draw, and Vibration Analysis
The fan is where maintenance effort pays off fastest. A centrifugal fan with a dust-caked impeller can lose 15 to 25% of its airflow before anything sounds wrong, because imbalance and aerodynamic degradation do not always announce themselves audibly.
Bearings and Lubrication
Follow the manufacturer's lubrication interval, but adjust for reality: dusty, high-temperature environments shorten grease life. Use the specified grease — mixing incompatible thickeners is a common cause of premature bearing failure. Purge slowly while rotating the shaft, and stop as soon as clean grease appears at the relief. Over-greasing raises internal pressure, pushes out seals, and lets contaminants in. On larger fans, consider vibration monitoring: ISO 10816 velocity zones give you an objective threshold, and a trend that crosses from Zone B into Zone C is your cue to schedule replacement before failure.
Belts, Sheaves, and Alignment
Check belt deflection at the midpoint of the longest span; a common rule is roughly 1/64 inch of deflection per inch of span under moderate thumb pressure, but always defer to the drive manufacturer's specification. Glazed or cracked belts should be replaced as a matched set. Misaligned sheaves — measurable with a straightedge or laser alignment tool — cause edge wear and vibration that no amount of tensioning will fix.
Amp Draw and Motor Health
Record amp draw on every phase at startup and after 15 minutes of steady operation. Rising amps at constant static pressure usually indicates mechanical binding, bearing distress, or impeller fouling. Falling amps with reduced airflow often points to a slipping belt or a broken impeller weld. Compare readings season to season; the trend line is more informative than any single number.

Ducts, Perforated Floors, and Plenum Seals: Chasing the Air Leaks That Steal Your CFM
Air takes the easy road. A quarter-inch gap along a plenum wall joint can pass more air than a square foot of properly perforated floor, which means the grain above that joint receives almost no airflow while your fan works at full load. This is the single most under-diagnosed cause of uneven cooling.
Where Leaks Hide
- The floor-to-sidewall joint, where thermal cycling opens sealant over years.
- Panel lap seams in the plenum, especially below the fill line.
- Transition duct flanges between fan and bin wall, often sealed with aging gaskets.
- Duct end caps and inspection hatches on in-bin duct systems.
- Unused floor openings, sumps, and unloading auger penetrations.
Sealing Practices That Last
Clean the surface to bare metal, apply a flexible butyl or polyurethane sealant rated for the temperature range, and back it with a compressible gasket on bolted joints. Avoid rigid, brittle sealants that crack at the first winter. On perforated floors, verify that open area matches the design specification and that fines are not blinding the perforations — a shop vacuum and a stiff brush before fill is a ten-minute job that protects an entire season of airflow.
Airflow Verification and Static Pressure Testing: Proving Your Aeration System Actually Performs
You cannot manage what you do not measure. Two field tests separate a system that works from one that merely runs.
Static Pressure Measurement
Drill or use an existing test port in the transition duct and connect a calibrated manometer or Magnehelic gauge. Compare measured static pressure at a known airflow against the fan's published performance curve. If the fan is producing less static pressure than the curve predicts at that speed, the system has excessive restriction — blocked vents, blinded floor, or a fouled impeller. If static pressure is unusually low with normal amp draw, you have leakage, and the air is bypassing your grain.
Airflow Traverse and CFM per Bushel
For critical bins, perform a pitot-tube traverse in the duct to calculate actual CFM, then divide by bushels stored. Compare against your target rate for the intended purpose.